Buying a new construction home is exciting, but before you reach your move-in date, there’s one last step you can’t afford to skip: the blue tape walkthrough.
This is the part of the process where you and the builder’s representative walk through the house together, using blue painter’s tape to mark minor defects and cosmetic issues like chipped paint and damaged cabinets.
It’s essentially a detailed inspection focused on quality assurance, with the goal of making sure your newly built home is truly move-in ready.
Key Takeaways
A blue tape walkthrough protects your investment by catching minor issues (and sometimes major issues) before closing.
To make it easier, we’ve included a free blue tape walkthrough checklist PDF you can download and bring along, available at the end of this article.
What Is A Blue Tape Walkthrough?
A blue tape walkthrough is a type of construction walkthrough used at the very end of the building process.
It’s the final step before closing on your home, and it gives you the chance to identify issues while the builder is still responsible for making final repairs.
The name comes from the use of blue painter’s tape (easy to see, but safe for walls and finishes).
You’ll use it to mark chipped paint, uneven trim, gaps in flooring, or anything else that doesn’t meet expectations.
Each piece of tape becomes a visible reminder for the builder of what needs to be fixed.
So, who attends?
Typically, it’s you, the buyer, along with a builder’s representative (to take notes and document issues). Sometimes, your realtor or a 3rd party home inspection professional will join for added peace of mind.
The blue tape walkthrough usually comes after all the construction projects are “finished,” but before the final handover.
This means the house looks move-in ready but still has time for identified issues to be corrected.
Why Every New Home Needs A Blue Tape Walkthrough
It’s easy to assume that a new construction home is perfect. After all, no one’s lived in it before, and everything looks shiny and new.
But the truth is that many homes have minor cosmetic issues, and sometimes bigger problems that you’ll only notice during a thorough walkthrough.
Here are just a few examples of what buyers commonly catch on blue tape day:
Paint drips or chipped paint on the walls.
Sticking doors or windows that don’t open smoothly.
Missing trim or uneven baseboards.
Plumbing fixtures with leaks or weak water pressure.
Electrical outlets that don’t work properly.
These may sound small, but they can sometimes hint at improperly built structural elements or functional issues that cost more to fix later.
For instance, a cracked tile might be just cosmetic, or it could signal that the subfloor wasn’t installed correctly.
The financial angle is simple: once you’ve signed closing papers, it’s much harder (and more expensive) to get the builder to address problems.
The blue tape inspection is your chance to create a complete punch list of items while you still have leverage.
Rushing through it (or skipping it completely) means you’ll probably miss things and end up fixing them yourself after move-in.
How To Prepare For Your Blue Tape Inspection
Here are a few tips to help you get the most out of your inspection.
What To Bring
Blue painter’s tape: bring more than you think you’ll need.
Notebook and pen: so you can document issues clearly.
Phone or camera: take photos to make follow up easier.
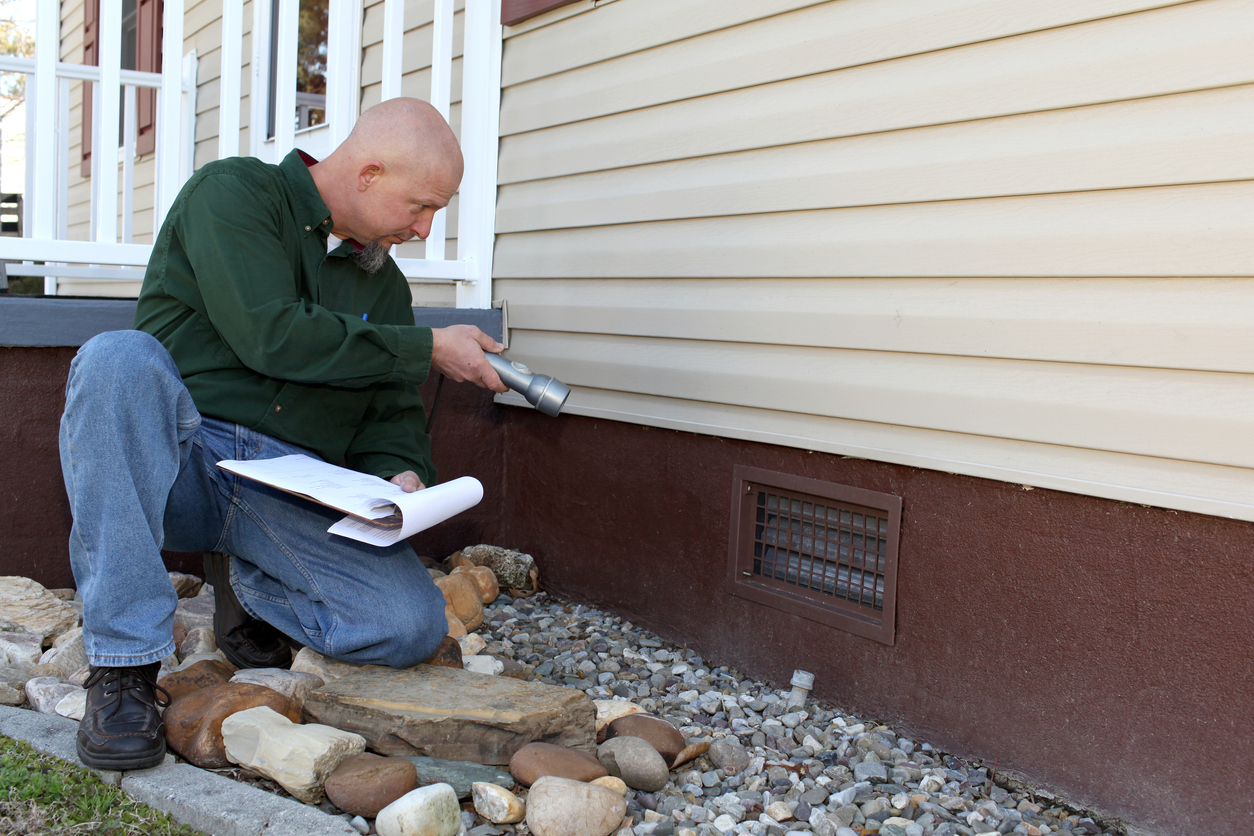
Flashlight: use it to check dark corners, closets, and crawl spaces.
Measuring tape: check appliance cutouts, stair widths, or doorway clearance.
Small test items: a phone charger to check that outlets work
Who To Bring
Your builder’s representative (required).
A realtor or trusted friend for a second set of eyes (optional, but recommended)
A professional home inspection for added peace of mind (optional).
How Much Time To Allow
Don’t treat this like a quick walk-through. Set aside at least 2–3 hours.
Rushing through increases the risk of leaving uneven surfaces, safety hazards, or missing trim unnoticed until after the final walk through.
The larger the house, the more time you’ll need to complete the inspection.
Blue Tape Walkthrough Checklist
The checklist below acts as the backbone of your inspection. It helps you slow down, test every part of the house, and leave knowing the builder has a clear record of identified issues.
Think of this as your personal quality control for your new construction home.
Here’s the full blue tape walkthrough checklist broken down by area.
Exterior
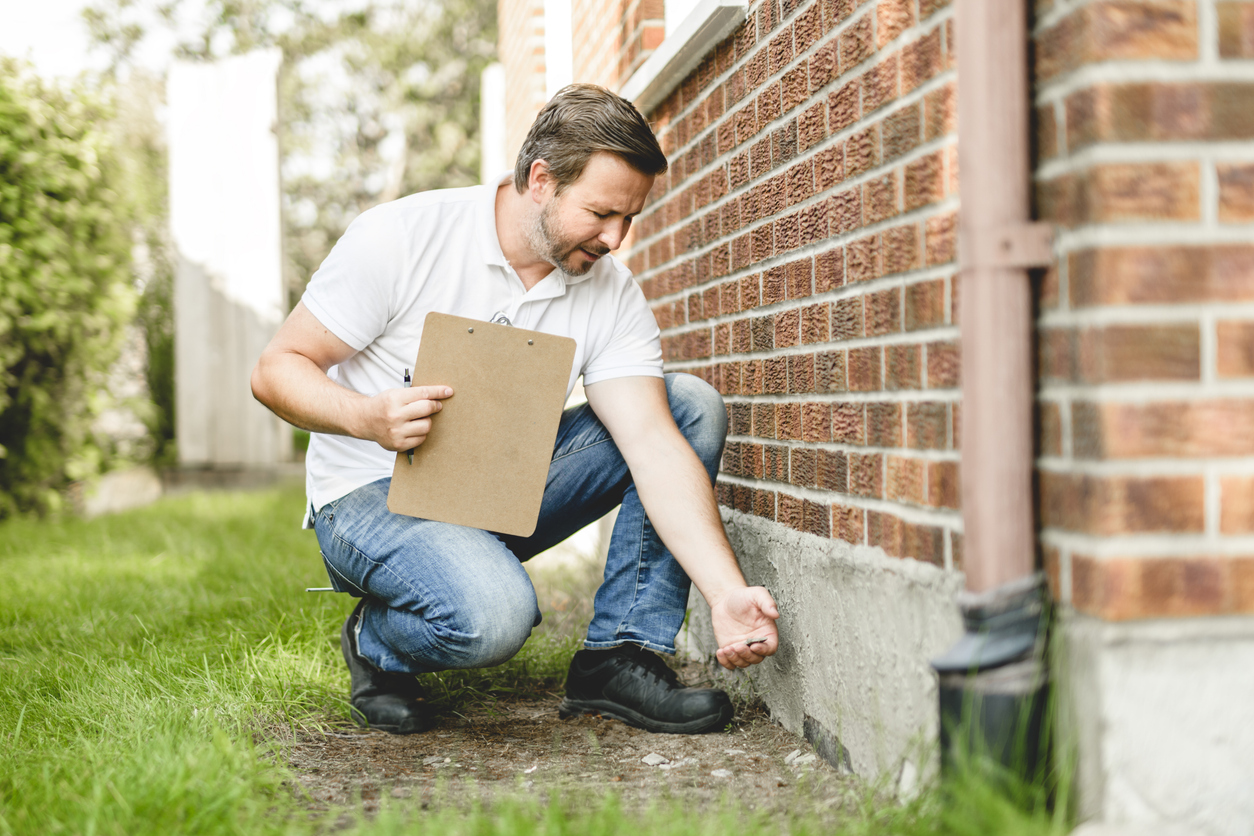
Start outside before you step through the front door. A lot of small but important details live here.
Driveways & Walkways: look for cracks, uneven surfaces, or areas where water might pool.
Roof & Gutters: confirm shingles are secure, gutters are attached, and downspouts direct water away.
Siding & Paint: check for chipped paint, gaps, or siding that’s not flush.
Exterior Doors & Windows: make sure each one opens, closes, and locks smoothly. Pay special attention to the front door and patio sliders.
Sprinkler System & Landscaping: run the irrigation to confirm it works properly. Sloping should move water away from the home.
Safety Features: verify that outdoor lighting, steps, and railings are secure and not safety hazards.
Doors & Windows
Doors: open and close each one fully, including closets and pocket doors. They should latch easily and not drag on the floor. Test locks and confirm keys fit.
Windows: each should slide, tilt, or crank the way it was designed. Locks should work, and glass should be free from cracks or scratches.
Seals & Weatherstripping: check for drafts or daylight around doors and windows.
Exterior Access: confirm exterior doors close tightly and are properly installed.
Interior Walls, Ceilings & Floors
Walls: look for nail pops, seams that aren’t sanded smoothly, or paint lines that don’t match.
Ceilings: check for cracks, stains, or uneven drywall seams.
Floors: hardwood should be flush without gaps, carpet should be stretched tight, and tile should be level without lippage.
Trim & Baseboards: they should sit tight against the wall, not leave shadows or gaps.
Kitchen & Bathrooms
Because kitchens and baths include plumbing, ventilation, and electrical elements, they’re prime areas where safety hazards can hide.
Check thoroughly now to reduce the need for follow-up repairs after the final walkthrough.
Cabinets & Drawers: open and close them fully to check for alignment.
Counters & Surfaces: run your hand along seams to feel for gaps or rough edges.
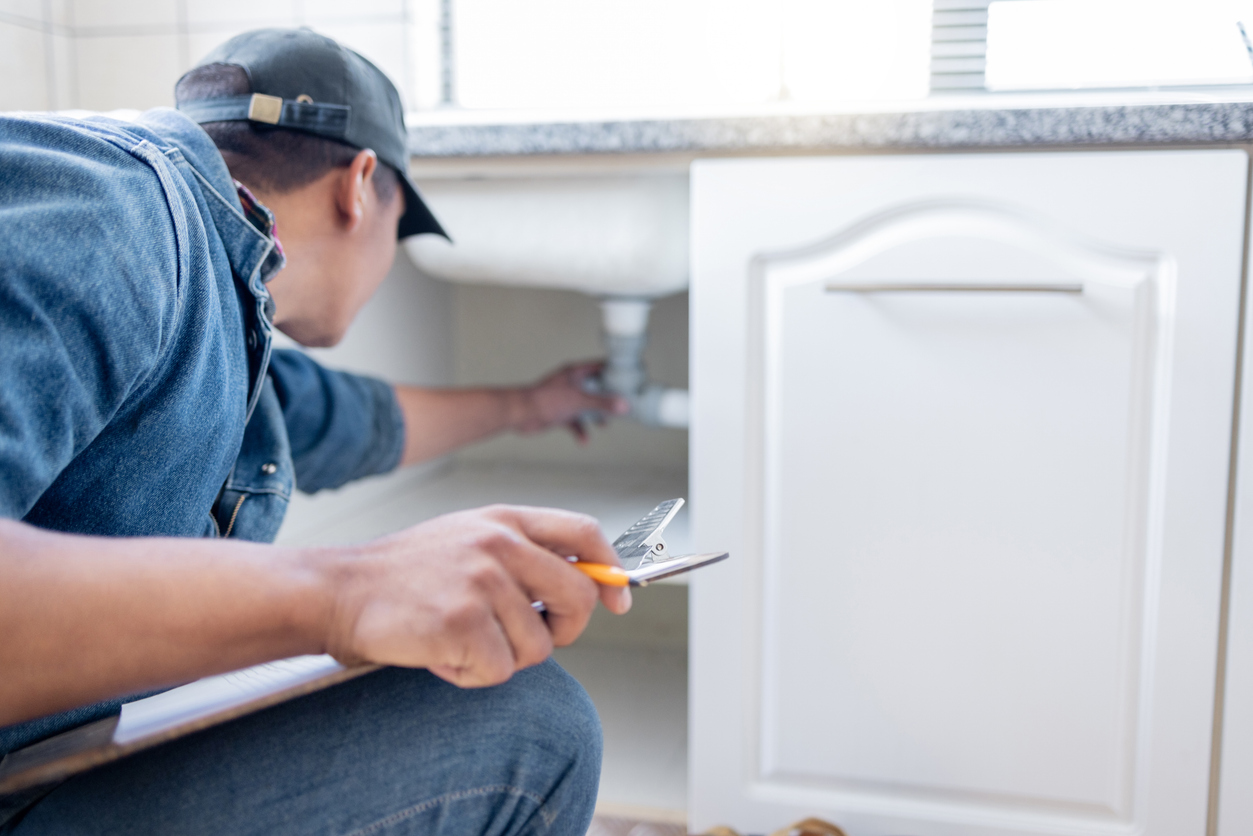
Plumbing Fixtures: test every faucet for hot and cold water, check sinks and tubs for proper drainage, and flush toilets for leaks.
Showers & Tubs: confirm grout and caulk are sealed evenly.
Ventilation: make sure fans are installed and venting outside.
Appliances: if included, confirm oven, dishwasher, fridge, and others turn on and operate as expected.
Systems & Appliances
Mechanical systems make or break how your new home feels day to day. During your blue tape walk, take the time to test everything that runs on power, water, or gas.
Electrical Outlets & Switches: plug in a small device to make sure each outlet works, and flip every switch to confirm it controls the right fixture.
HVAC System: run the air conditioning and heating to check airflow from every vent. The thermostat should adjust without delay.
Plumbing Fixtures: look under sinks for leaks, turn faucets for steady flow, and flush toilets to ensure strong drainage.
Appliances: if included, run a quick cycle on new appliances (check the dishwasher, turn on the oven, and check the fridge for cooling).
Attic, Basement & Garage
Attic: confirm insulation is evenly spread, ventilation is clear, and the access door is easy to open.
Having answers to these questions builds confidence that your new home will be delivered in the same condition you signed off on.
When will repairs be completed? — Ask if they’ll be done before your closing date or if you’ll need a follow up walkthrough.
Who keeps the punch list? — Make sure both you and the builder’s representative have a copy of all identified issues.
What if new problems show up after move-in? — Clarify whether you’ll have a short warranty window for small adjustments.
How will repairs be documented? — Make sure the builder provides a written record of fixes so you know every issue was addressed.
What Happens After the Final Walk Through?
The blue tape walkthrough is not the end of your project.
It’s the beginning of the repair phase.
Once you’ve used painter’s tape to mark problems, the builder compiles a formal punch list.
Here’s what typically happens next:
Builder makes repairs: From cosmetic issues like chipped paint to functional ones like a misaligned HVAC system, items are fixed before closing.
Follow-up walkthrough: You and the builder walk the house again to verify that repairs are complete.
Final sign-off: Once everything checks out, the builder proceeds with closing and hands you the keys.
Download Your Free Blue Tape Walkthrough Checklist PDF
Don’t rely on memory when you’re inspecting a new home. A structured checklist makes it easier to stay organized and avoid rushing through the final walkthrough.
The list above is a condensed version of our FREE blue tape walkthrough checklist PDF. You can download it below, print it before your walkthrough, and fill it out as you go.
It covers every room, system, and safety feature we discussed in this guide.
Download The Blue Tape Walkthrough Checklist
Thank you! Your submission has been received!
Oops! Something went wrong while submitting the form.


.webp)


